Life Hack #9: Predicting Water Levels in Estuarine Systems
Working 13 years in the mid and upper reaches of the Chesapeake Bay and it's tributaries has taught me a thing or two regarding water levels and tides - weather phenomena (e.g. wind, rain, etc.) and dam releases influence observed water levels. There are times when a day's high tide water level is the same as another day's low tide water level. Why is this important or considered an Ecology & Science Life Hack? I'm glad you asked.
Say you need to collect 1,000 mumichogs (Fundulus heteroclitus) using a seine net for an experiment. You check the tide tables, find out when low tide is, grab your seining partner and head to the closest marsh. What do you find? The water level is above the marsh surface (see Life Hack #8 for why you want to seine around low tide). What happened?
Let me introduce you to your new bestie: NOAA's Storm Surge Water Level Guidance. To orient you to the graph below, the blue line is the predicted (based off tide data) and the red line is what the observed water level was. You see that the red line does not always follow the blue line (i.e. observed does not reflect the predicted). For example, on June 23rd the observed line (red) was well above the predicted line (blue) and on June 24th the observed line (red) briefly matched the predicted line (blue) around 3am, and then fell below the predicted during the low tide by 9am and stayed below the predicted through 2:20pm (last observation).
What does this mean in terms of water above or below the marsh surface? Generally, in the Chesapeake Bay, water is above most marsh surfaces when the observed line (red) is above Mean Sea Level (MSL). Conversely, water is below the marsh surface when the observed line (red) is below MSL. It is likely that on June 23rd that the water level never fell below the marsh surface (MSL) and on June 24th it is likely the water level never rose above most marsh surfaces (MSL).
Which day would be the best for seining mummichogs? June 24th FTW! With the water off the marsh, mummichogs aren't able to take refuge on the marsh surface and are forced into the shallow, nearshore zone and available for collection.
However, a marsh is not a marsh is not a marsh. Marsh morphology can affect how fish interact with their habitat. Watch the videos posted in Life Hack #8 to see how complex marsh morphology can provide refuge for prey fishes when the water level is below the marsh surface.
So, what causes the observed water level to be so different from the predicted water level in the Chesapeake Bay and many of its tributaries? Weather phenomena and the Conowingo dam releases. How can these be used to help you predict the best times to do estuarine field-based research? We'll address this in Life Hack #10 since it tends to be a multi-tiered and alchemic process.
Helpful links for predicting water levels:
Tide Tables: http://www.saltwatertides.com/pickpred.html
NOAA's Extra-Tropical Storm Surge Water Level Guidance: http://www.nws.noaa.gov/mdl/etsurge/
Weather (rain, wind, storm systems): http://www.weather.gov/ OR http://www.wunderground.com/
Life Hack #8: Efficient Seining in Tidal Marsh Systems
This one is going to be short and sweet: If the point of seining is to collect small macrofauna (e.g. prey fish, grass shrimp, blue crabs, etc.) for an experiment, don't target a high tide or when the water is above the marsh surface. Seining in or near marshes when the water level is well above the marsh surface is like trying to win a big stuffed animal at the county fair - the odds are just not in your favor. When water levels are high, guess where most of the macrofauna are - hiding safely amongst the marsh vegetation and mocking you. They will likely stay in this safe refuge until the water level drops below the marsh surface, forcing them into the nearshore zone. Of course, this depends on the marsh habitat/morphology. Check out these videos I shot in the Wicomico River (Maryland) in 2012. You can see all the hidey-spots in the Wicomico's highly complex marsh morphology.
Life Hack #7: Idiot Proof Datasheets
When you are faced with organizing and implementing highly complex field-based research studies, it's best that you idiot proof your study as best you can! How do you do this? Though a series of baby steps, of course!
Step 1: is design a field datasheet that requires the data recorder(s) to fill in, check or circle every single field box on the datasheet. How do you determine what is field box worthy? Anything variable or parameter that will be used for data analyses MUST have a special field box on your datasheet. Additionally, be sure to have a "double checker" initial the datasheet before leaving the field site to ensure that every piece of data has been collected.
In the below example, you can see that we collect basic field site information, two types of YSI (water quality) data, three types of seine net (two small and one big net) deployment data, vegetation volume data, secchi disk (water clarity) data, and a few collaborator sample collection (water, fish tissue and sediment) Y/N reminders. That's a lot of information to keep track of and remember to do, and this is only 1 of 4 datasheets that was filled out for each field site sampling during this study! The other 3 datasheets recorded things like fish and invertebrate species code names, with individual species lengths, volumes, and counts for our lab, and similar data for collaborator fish and sediment samples. Trying to write all this down in a field notebook would take FOREVER and you'd easily forget to measure, record, or perform one of the many other tasks required for this kind of study. You can't make science magic happen when missing data!
So, design yourself an amazing idiot proof datasheet, don't forget to print it out on Life Hack #1, and impress your PI...you'll be glad you did!
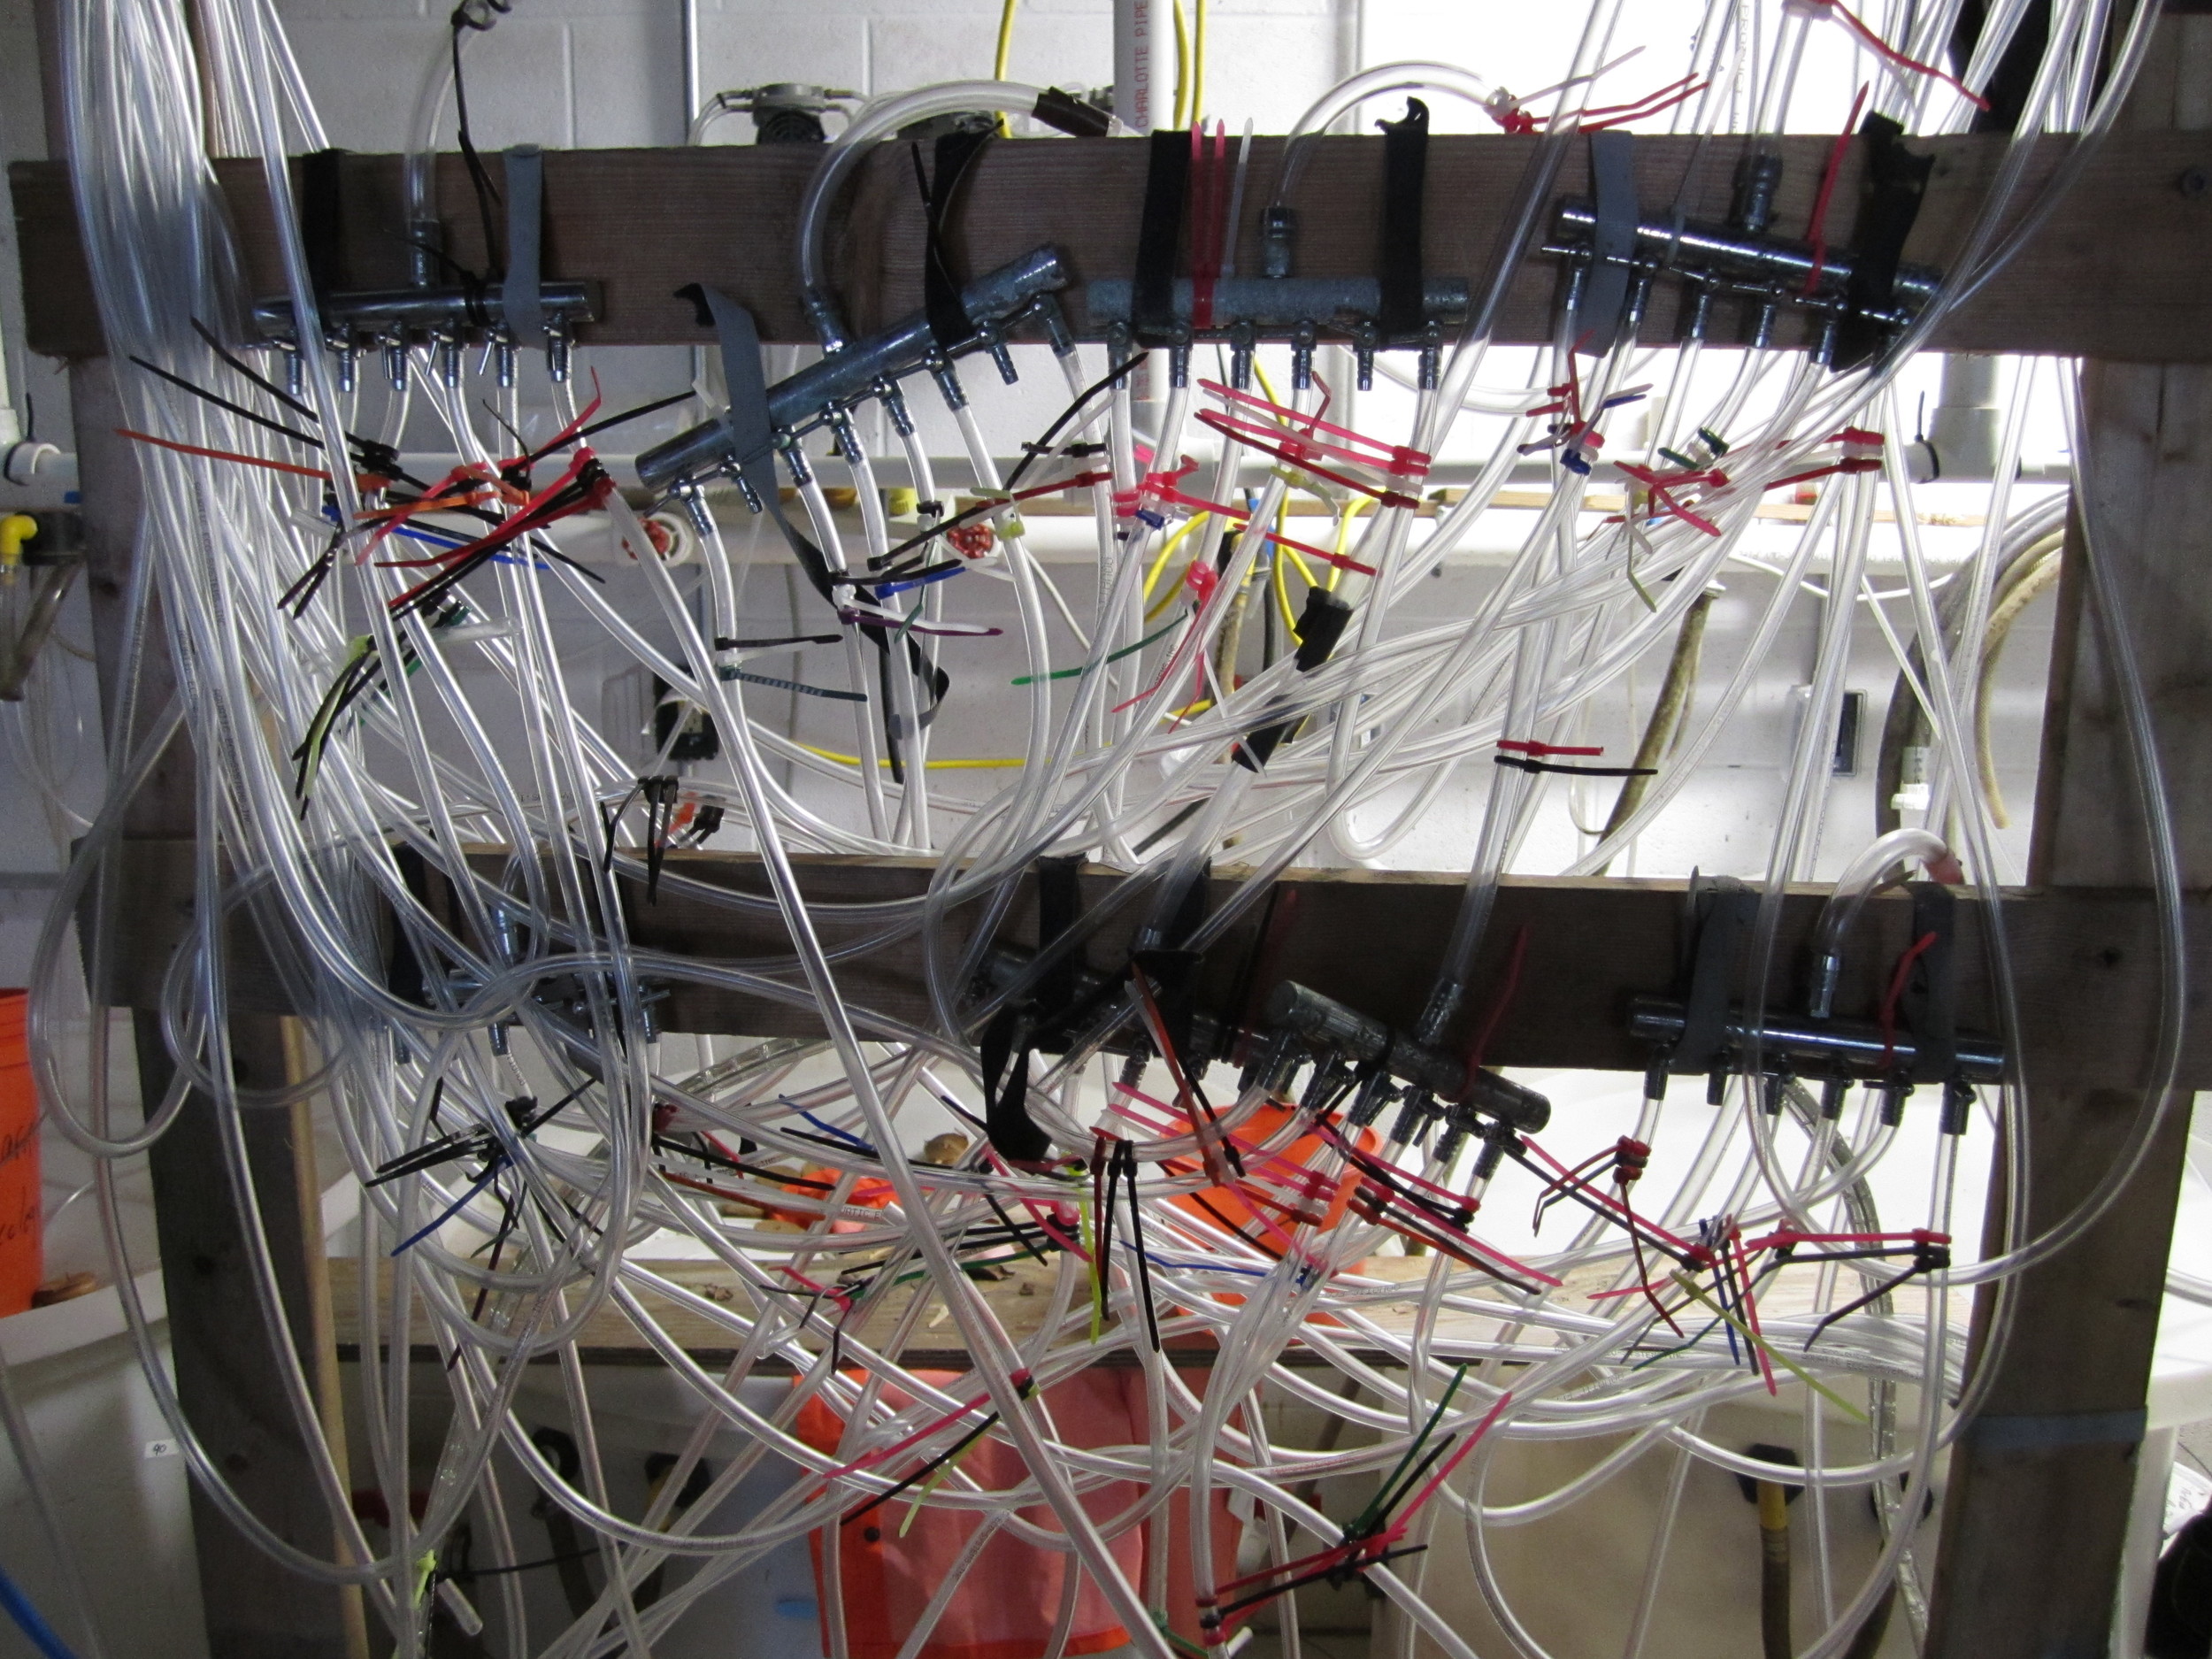
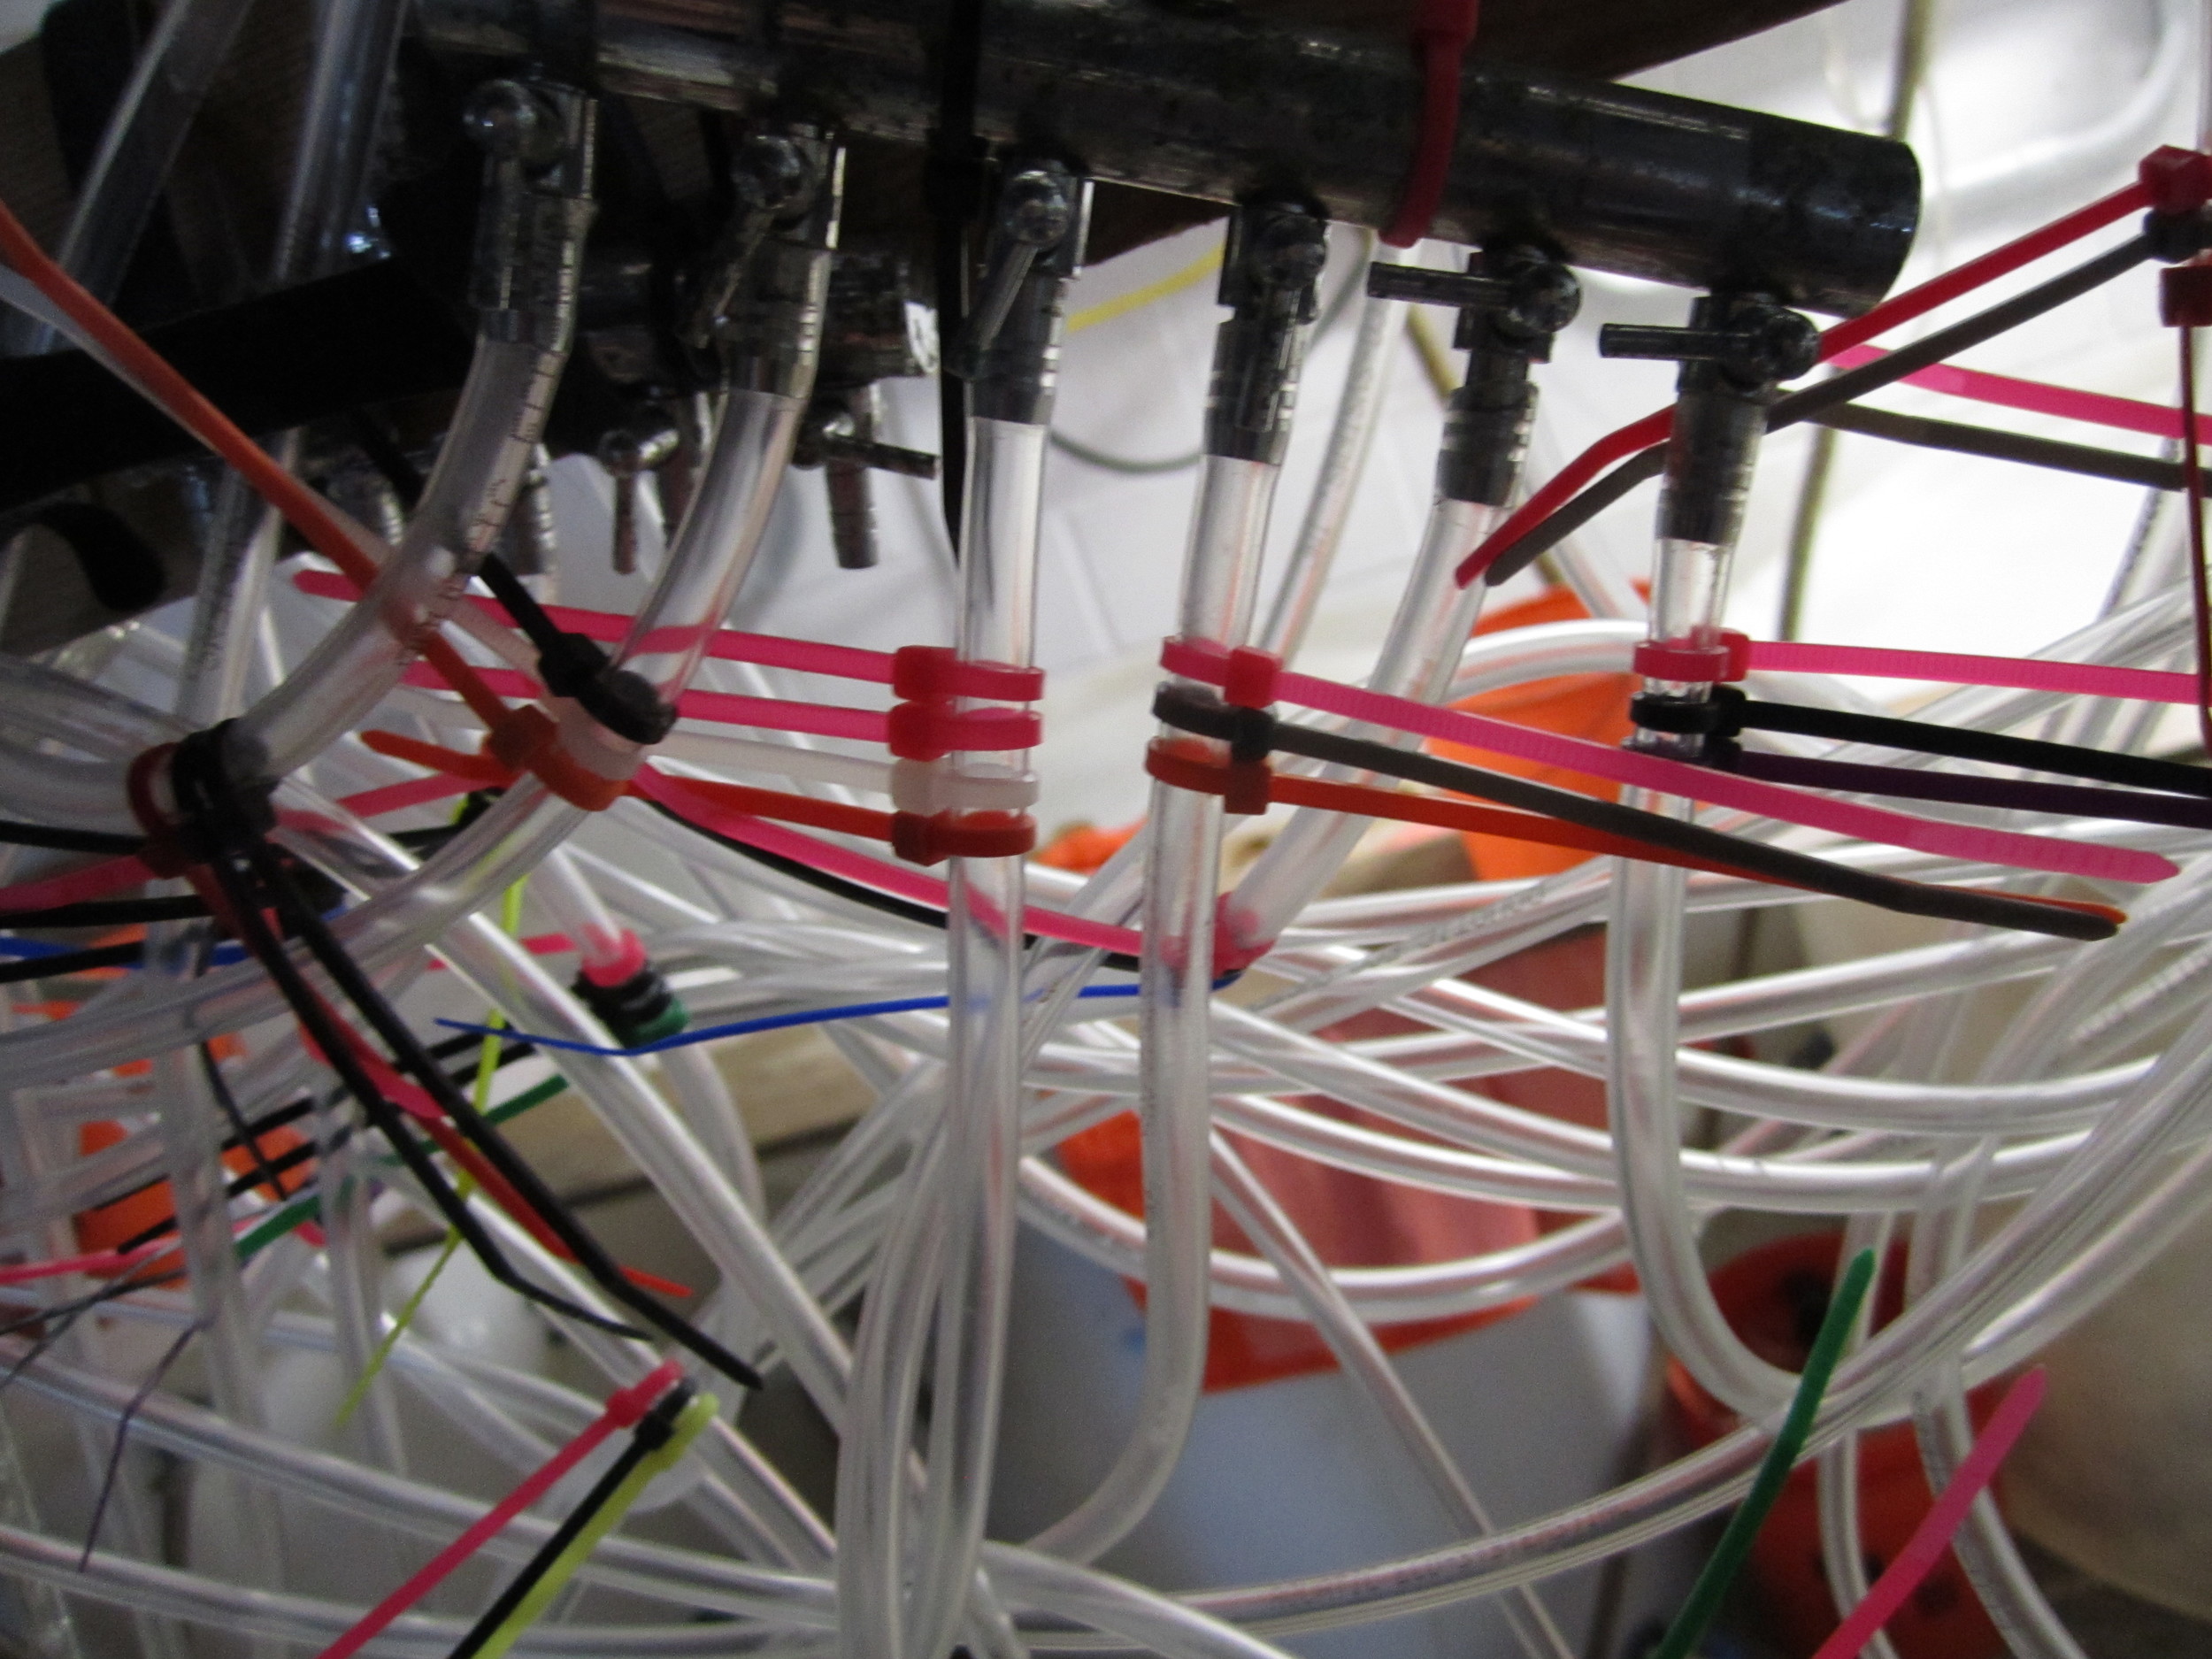
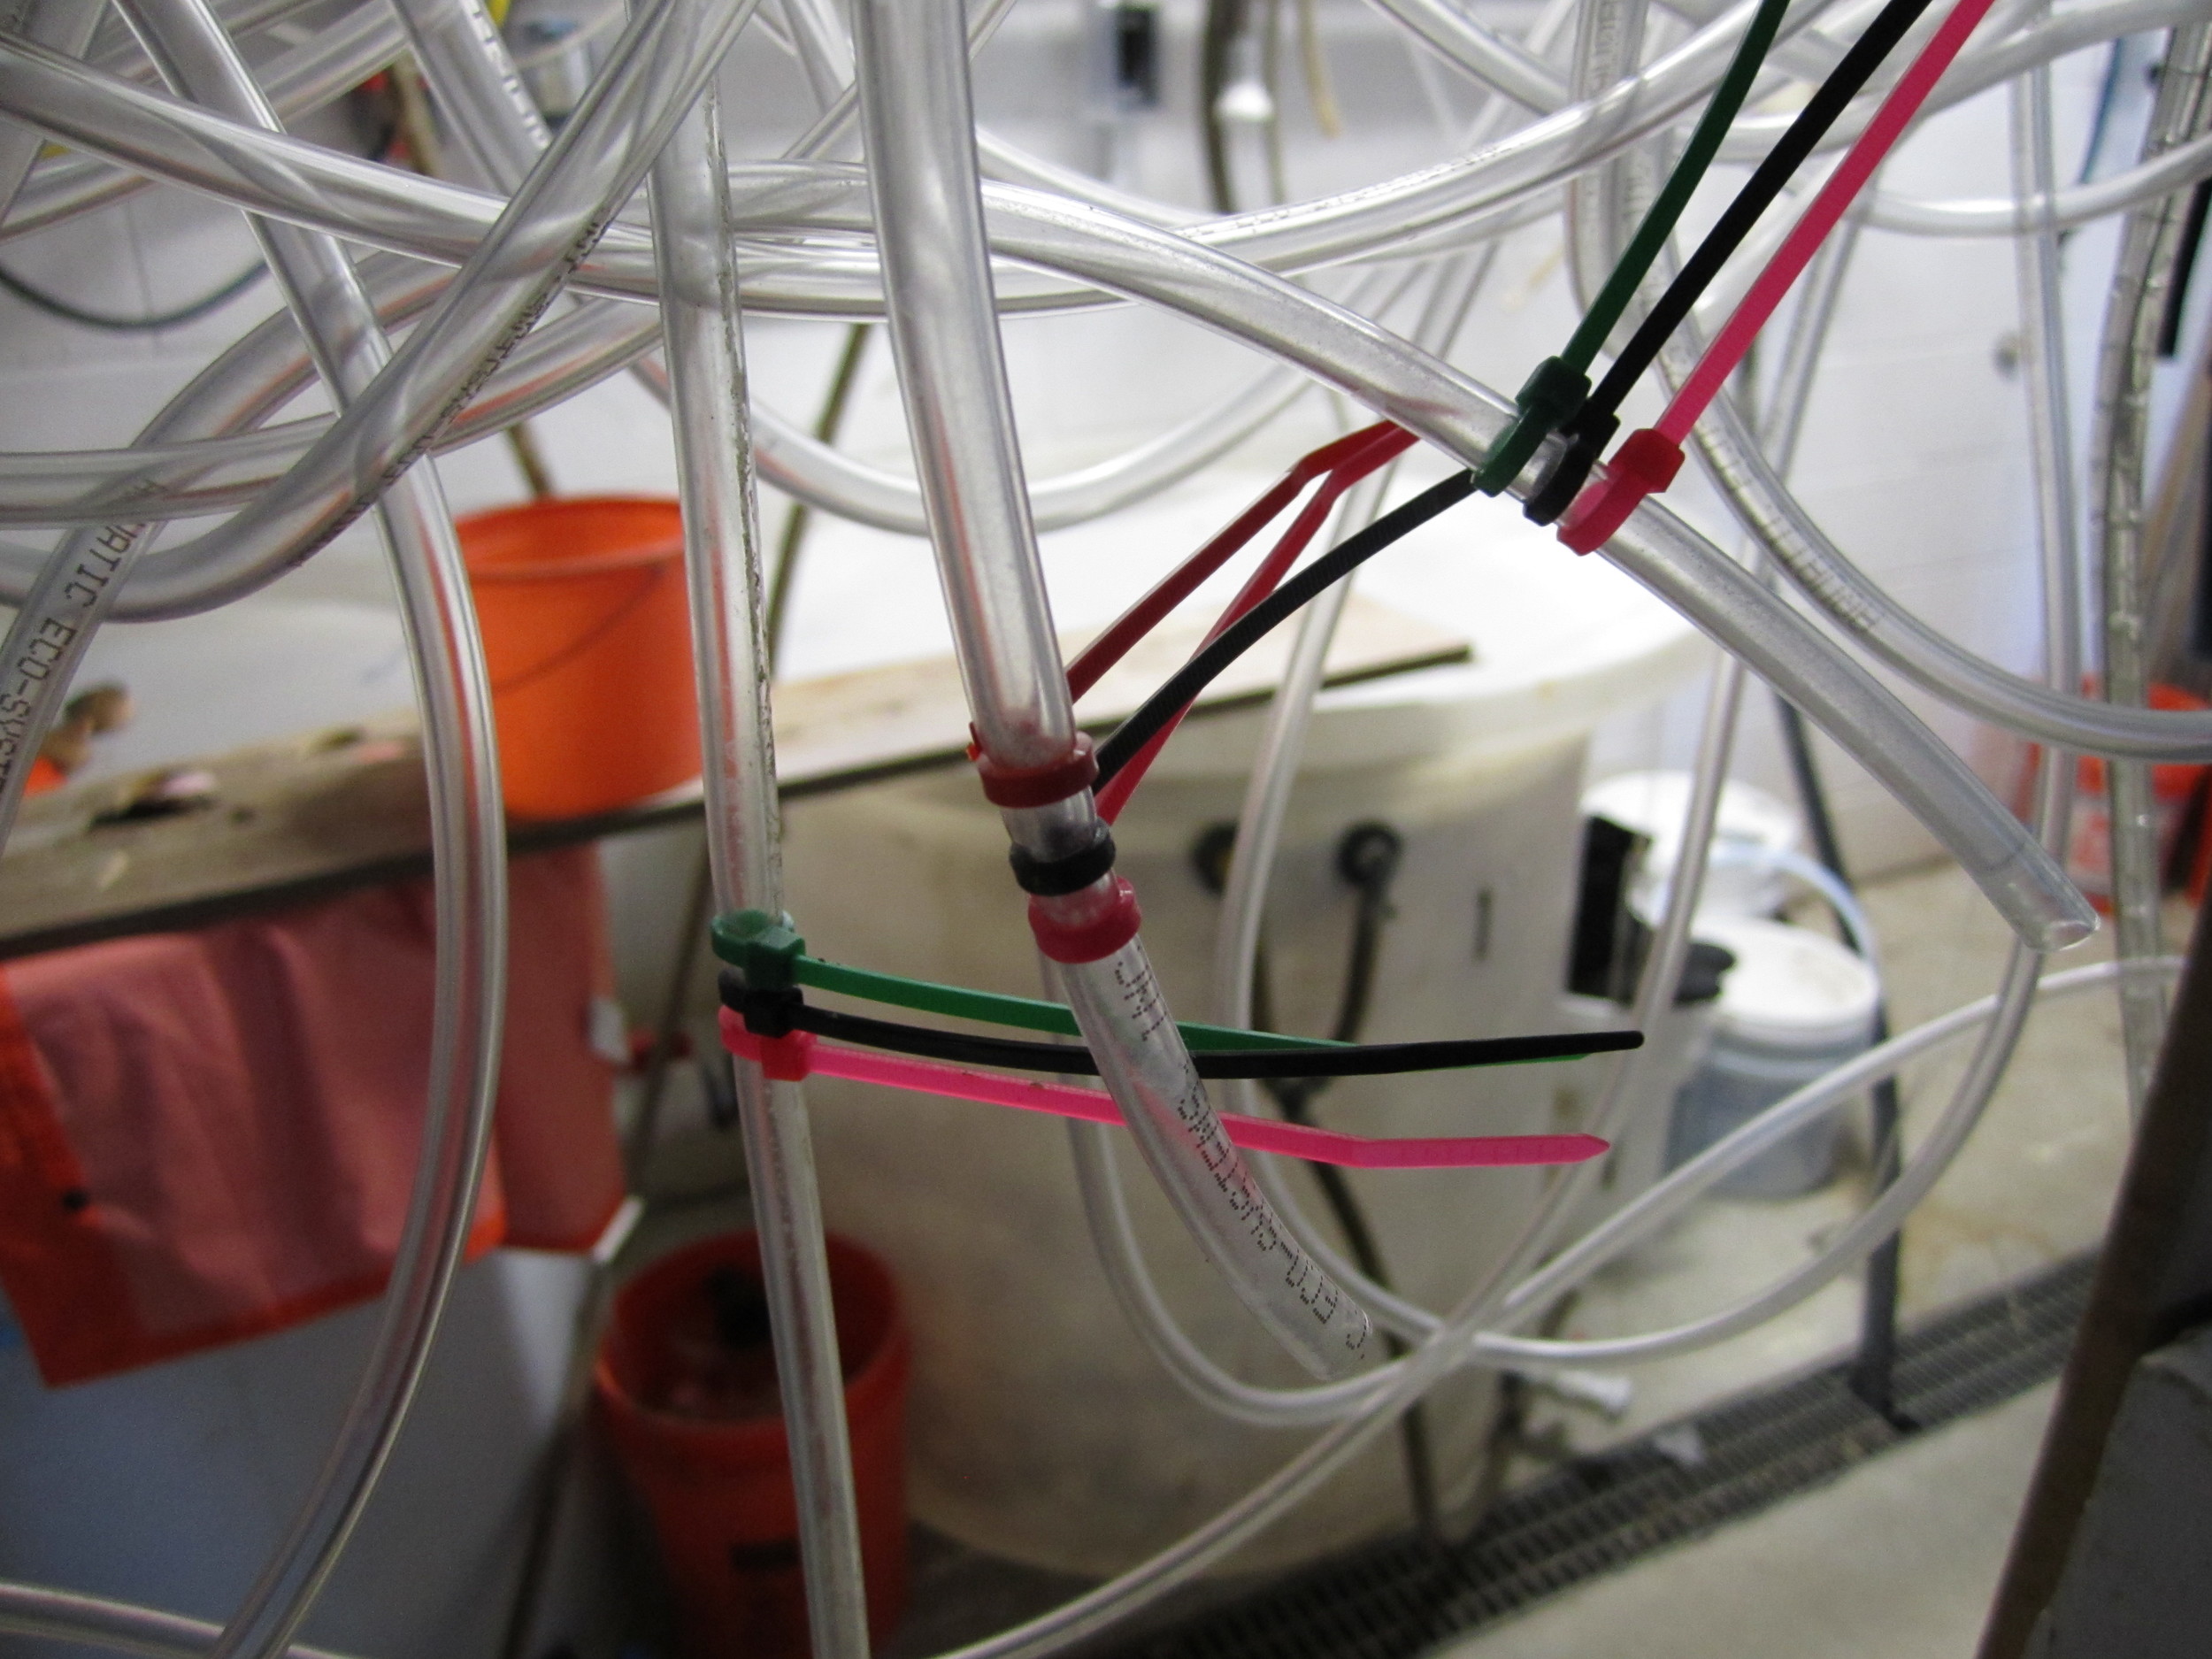
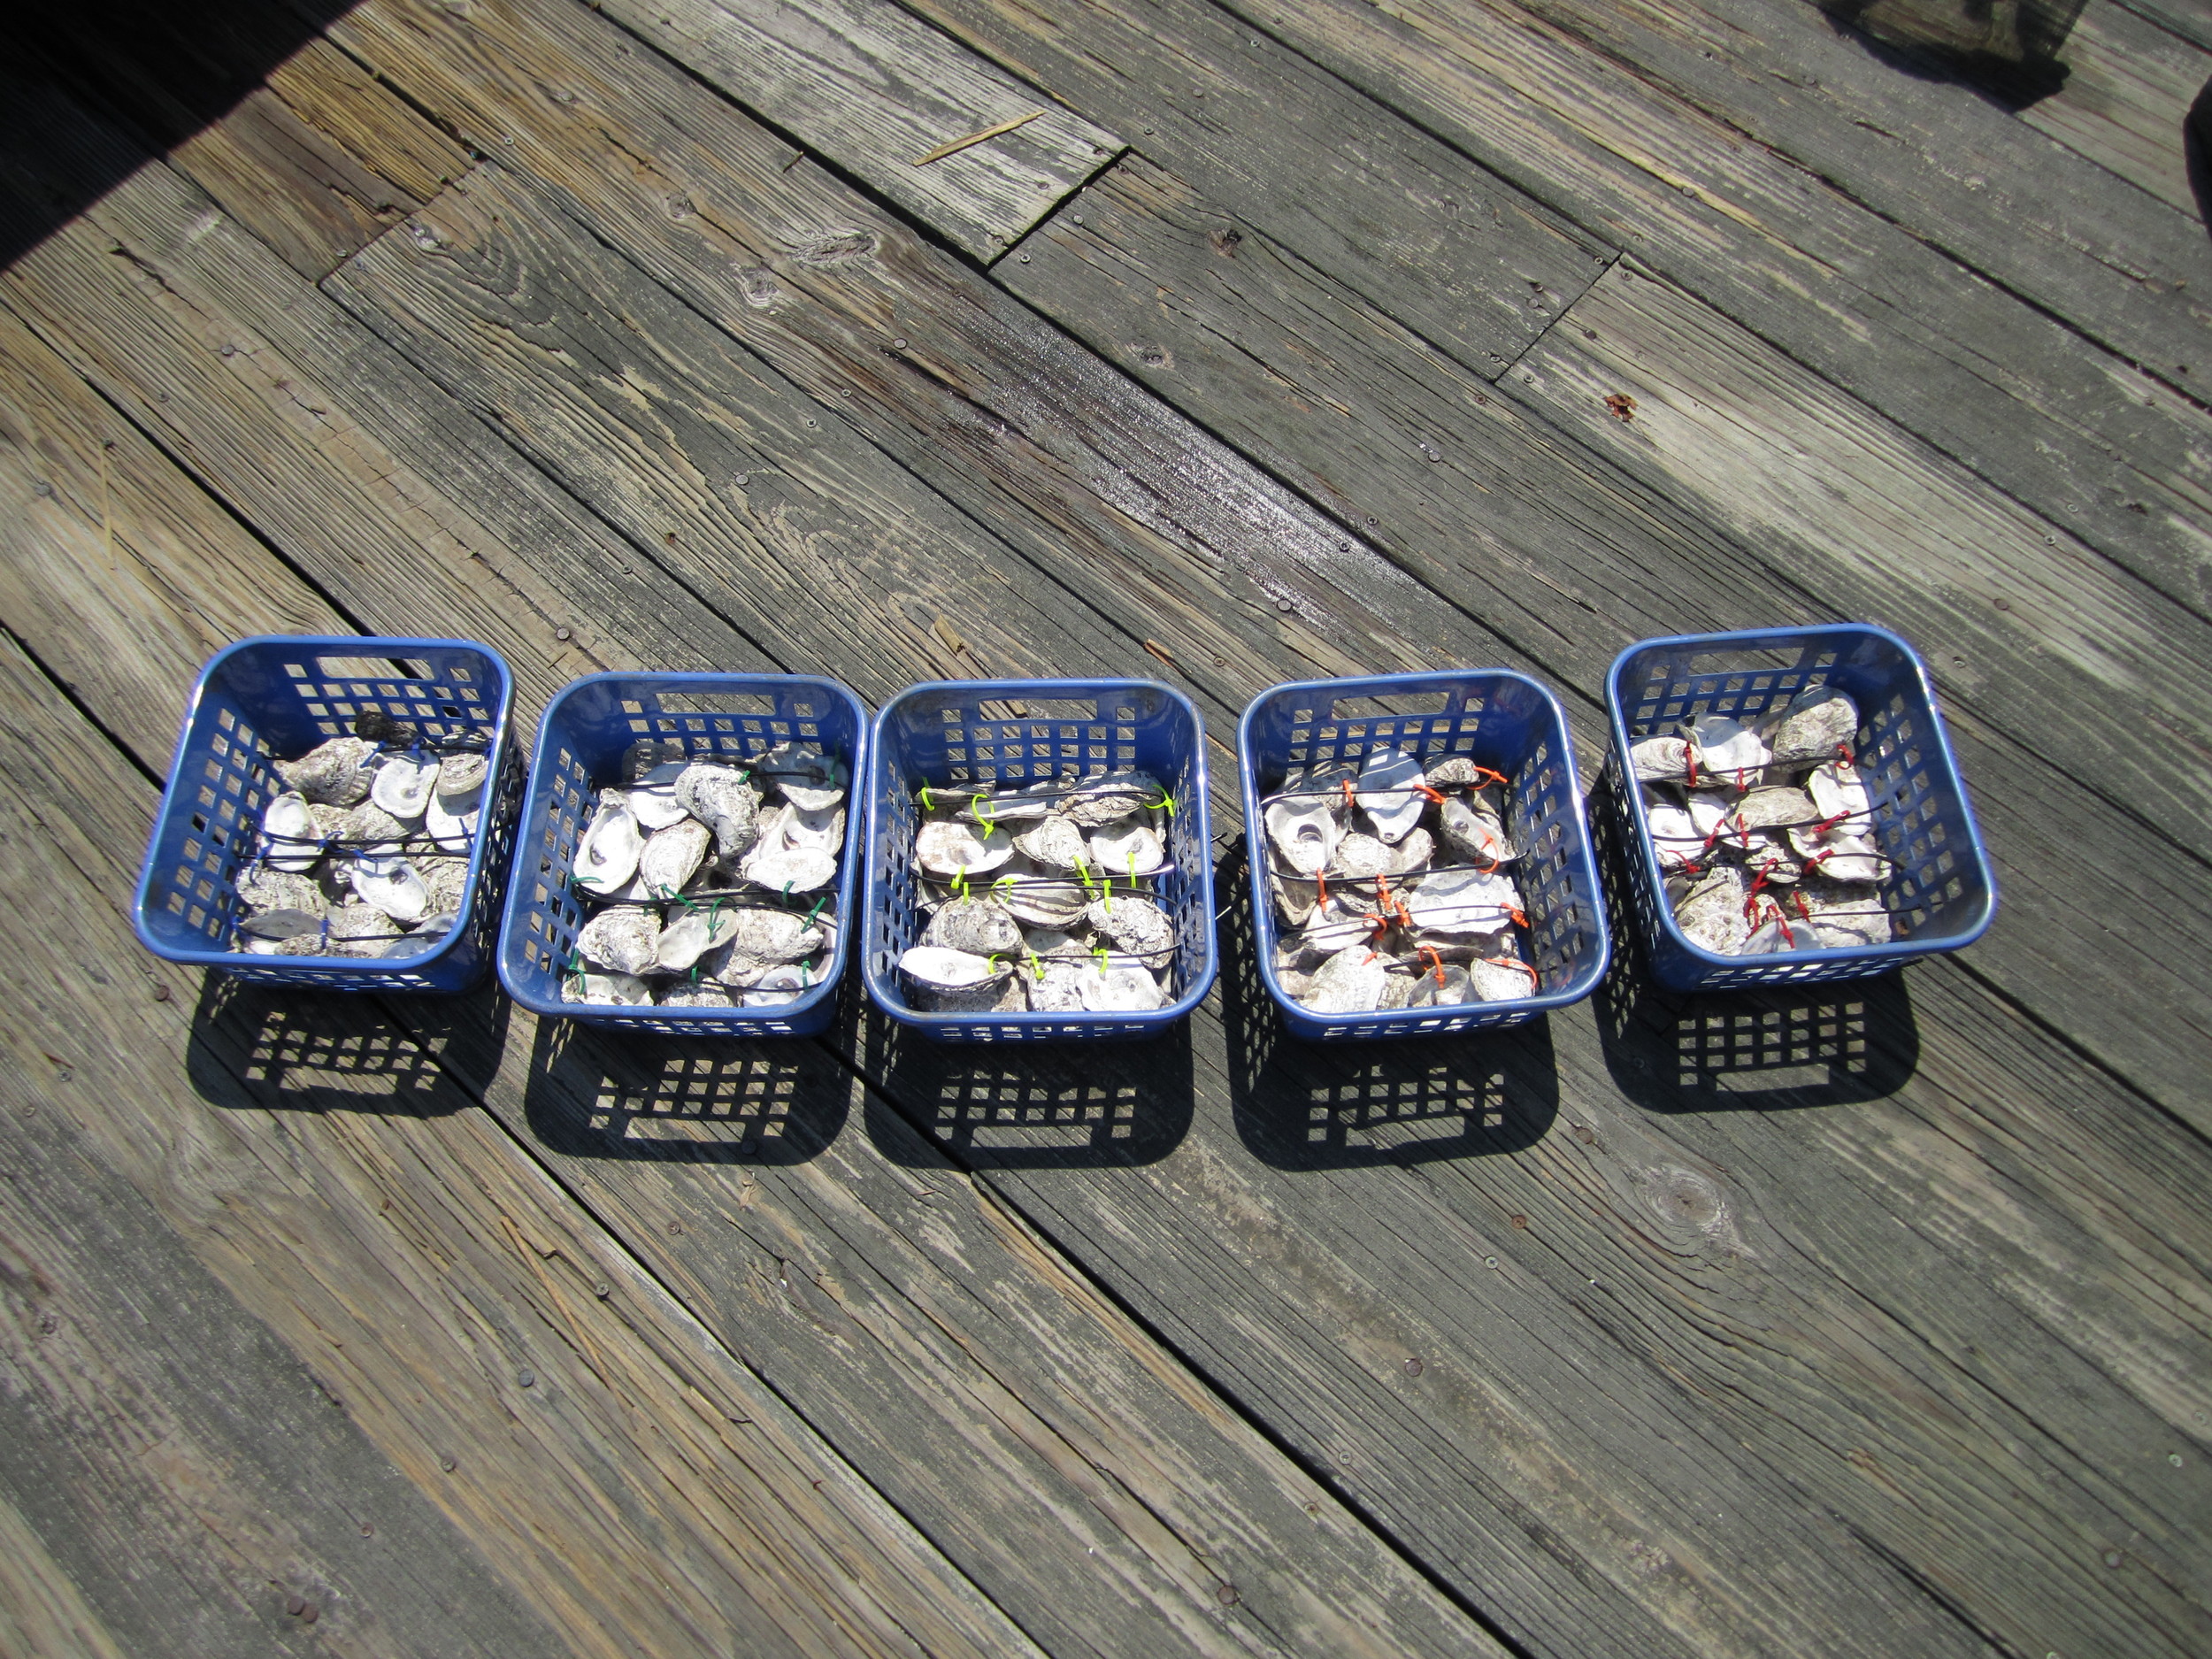
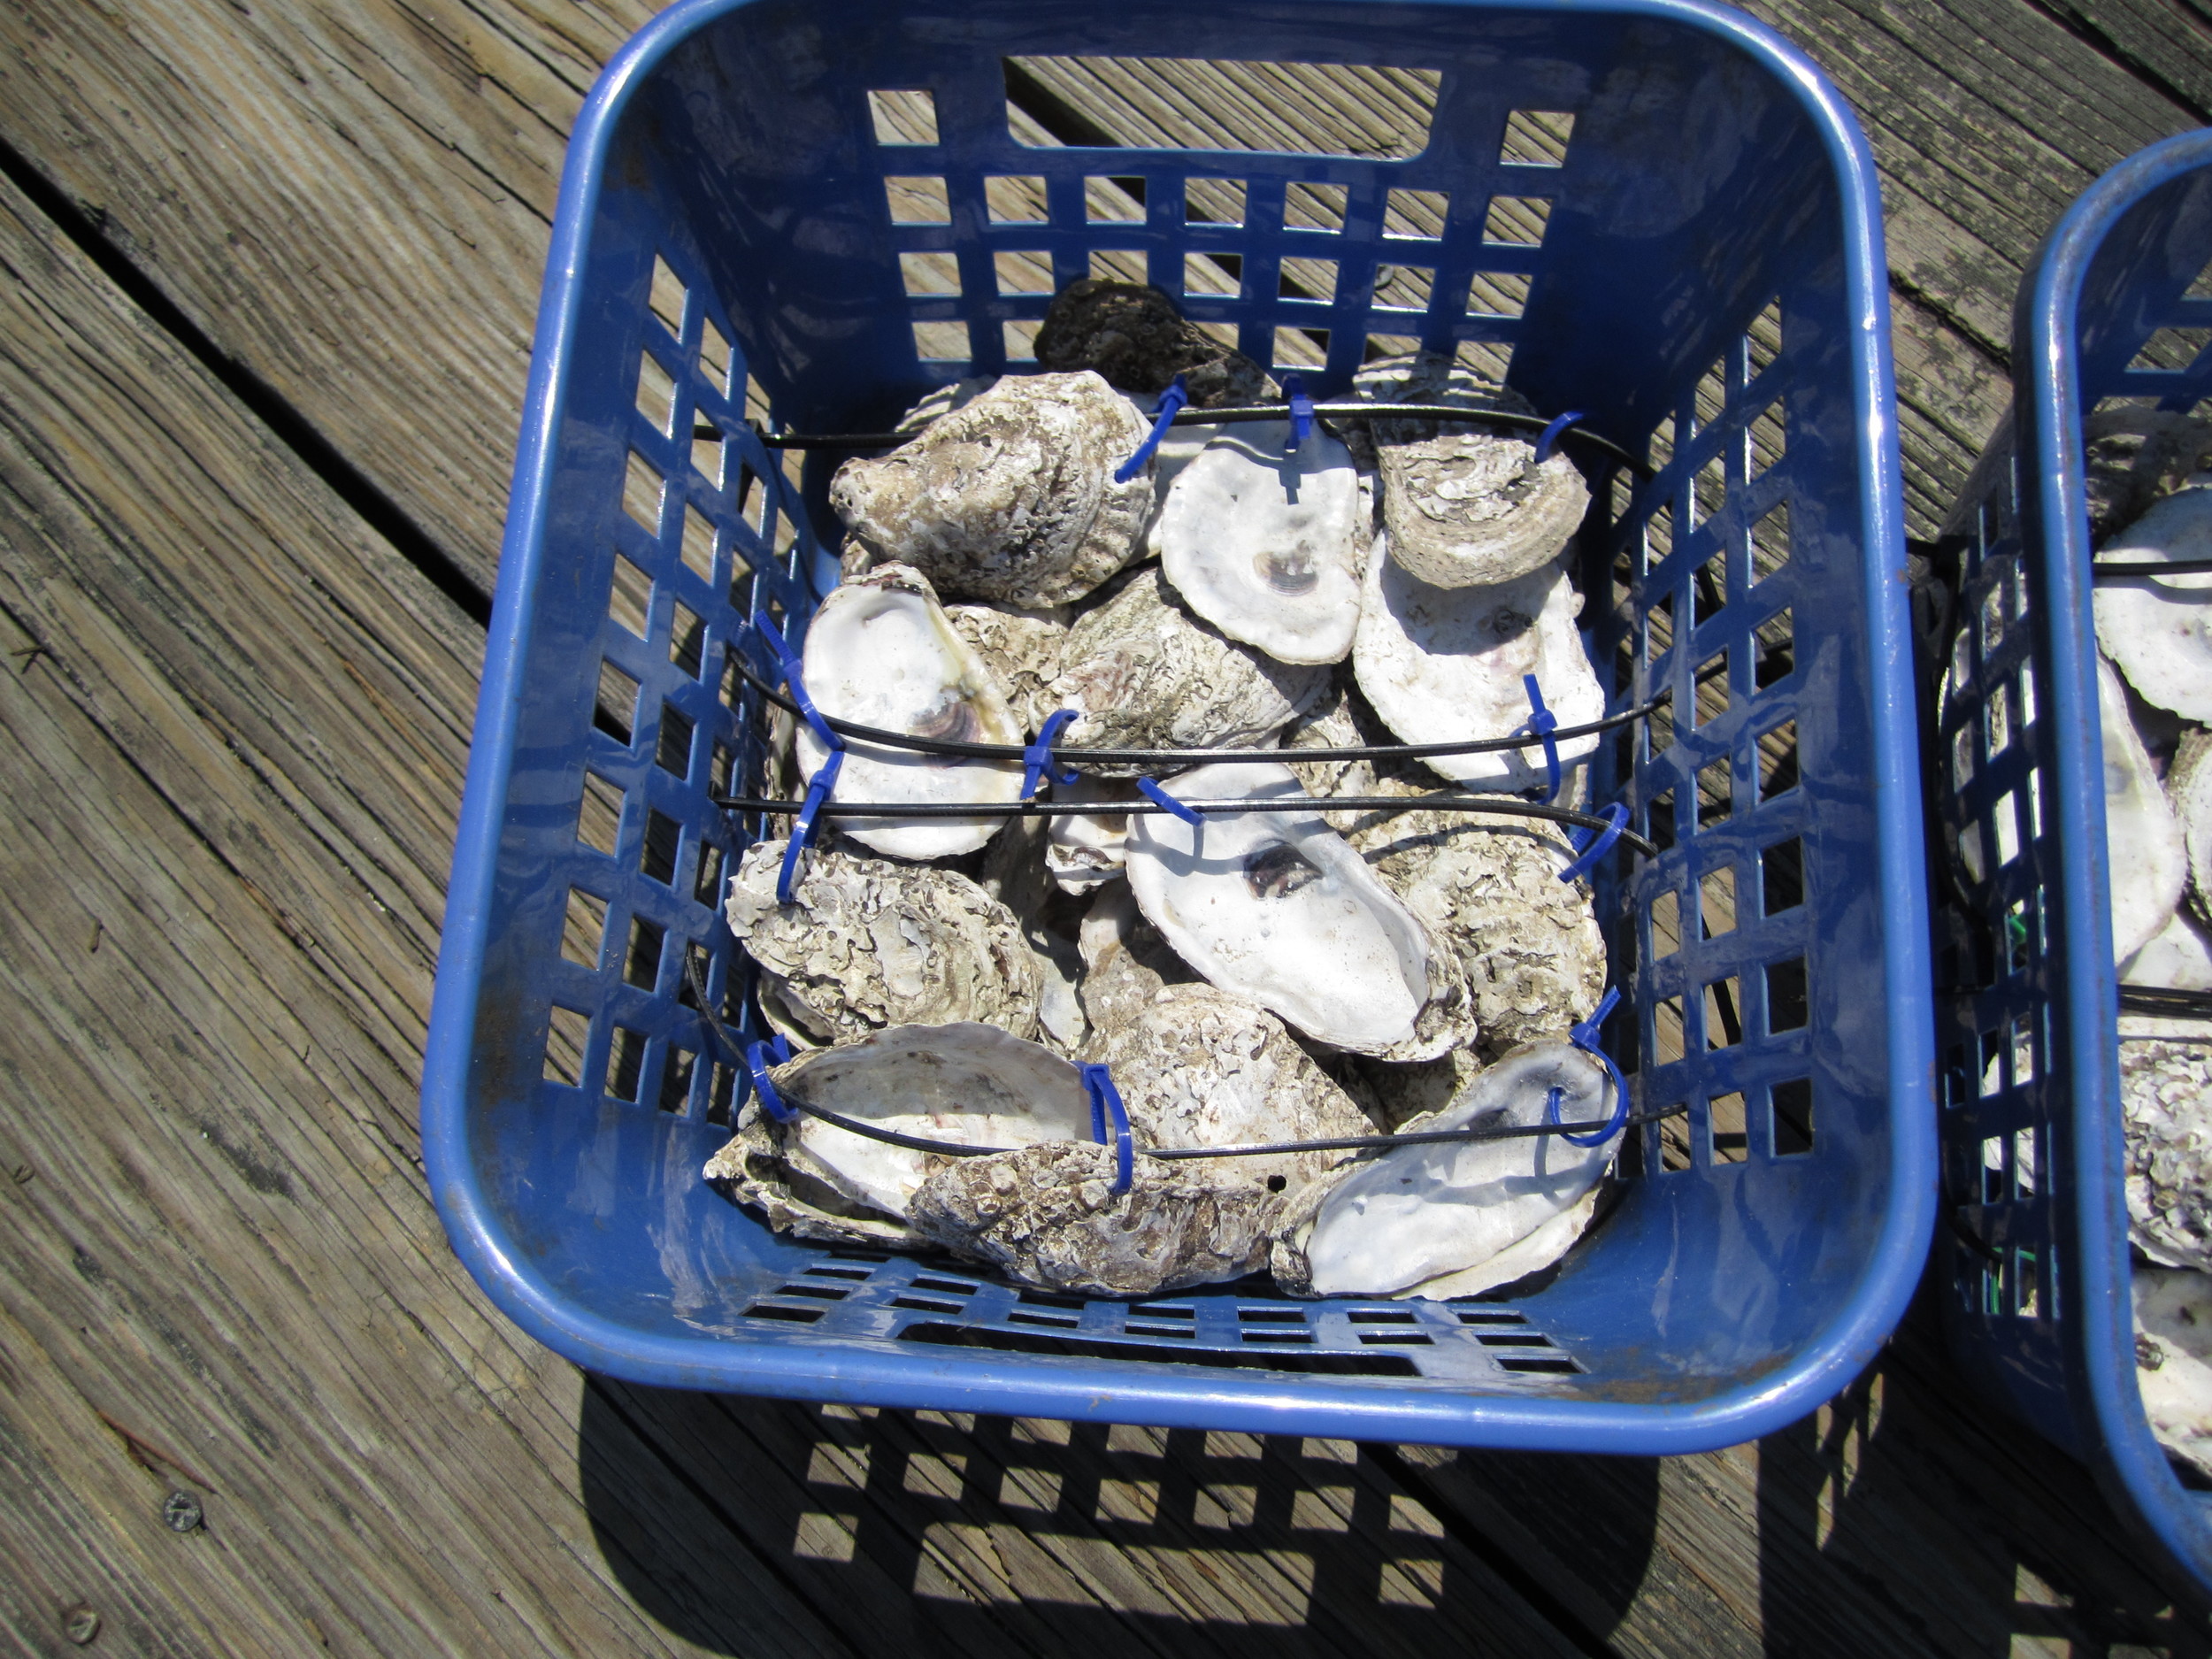
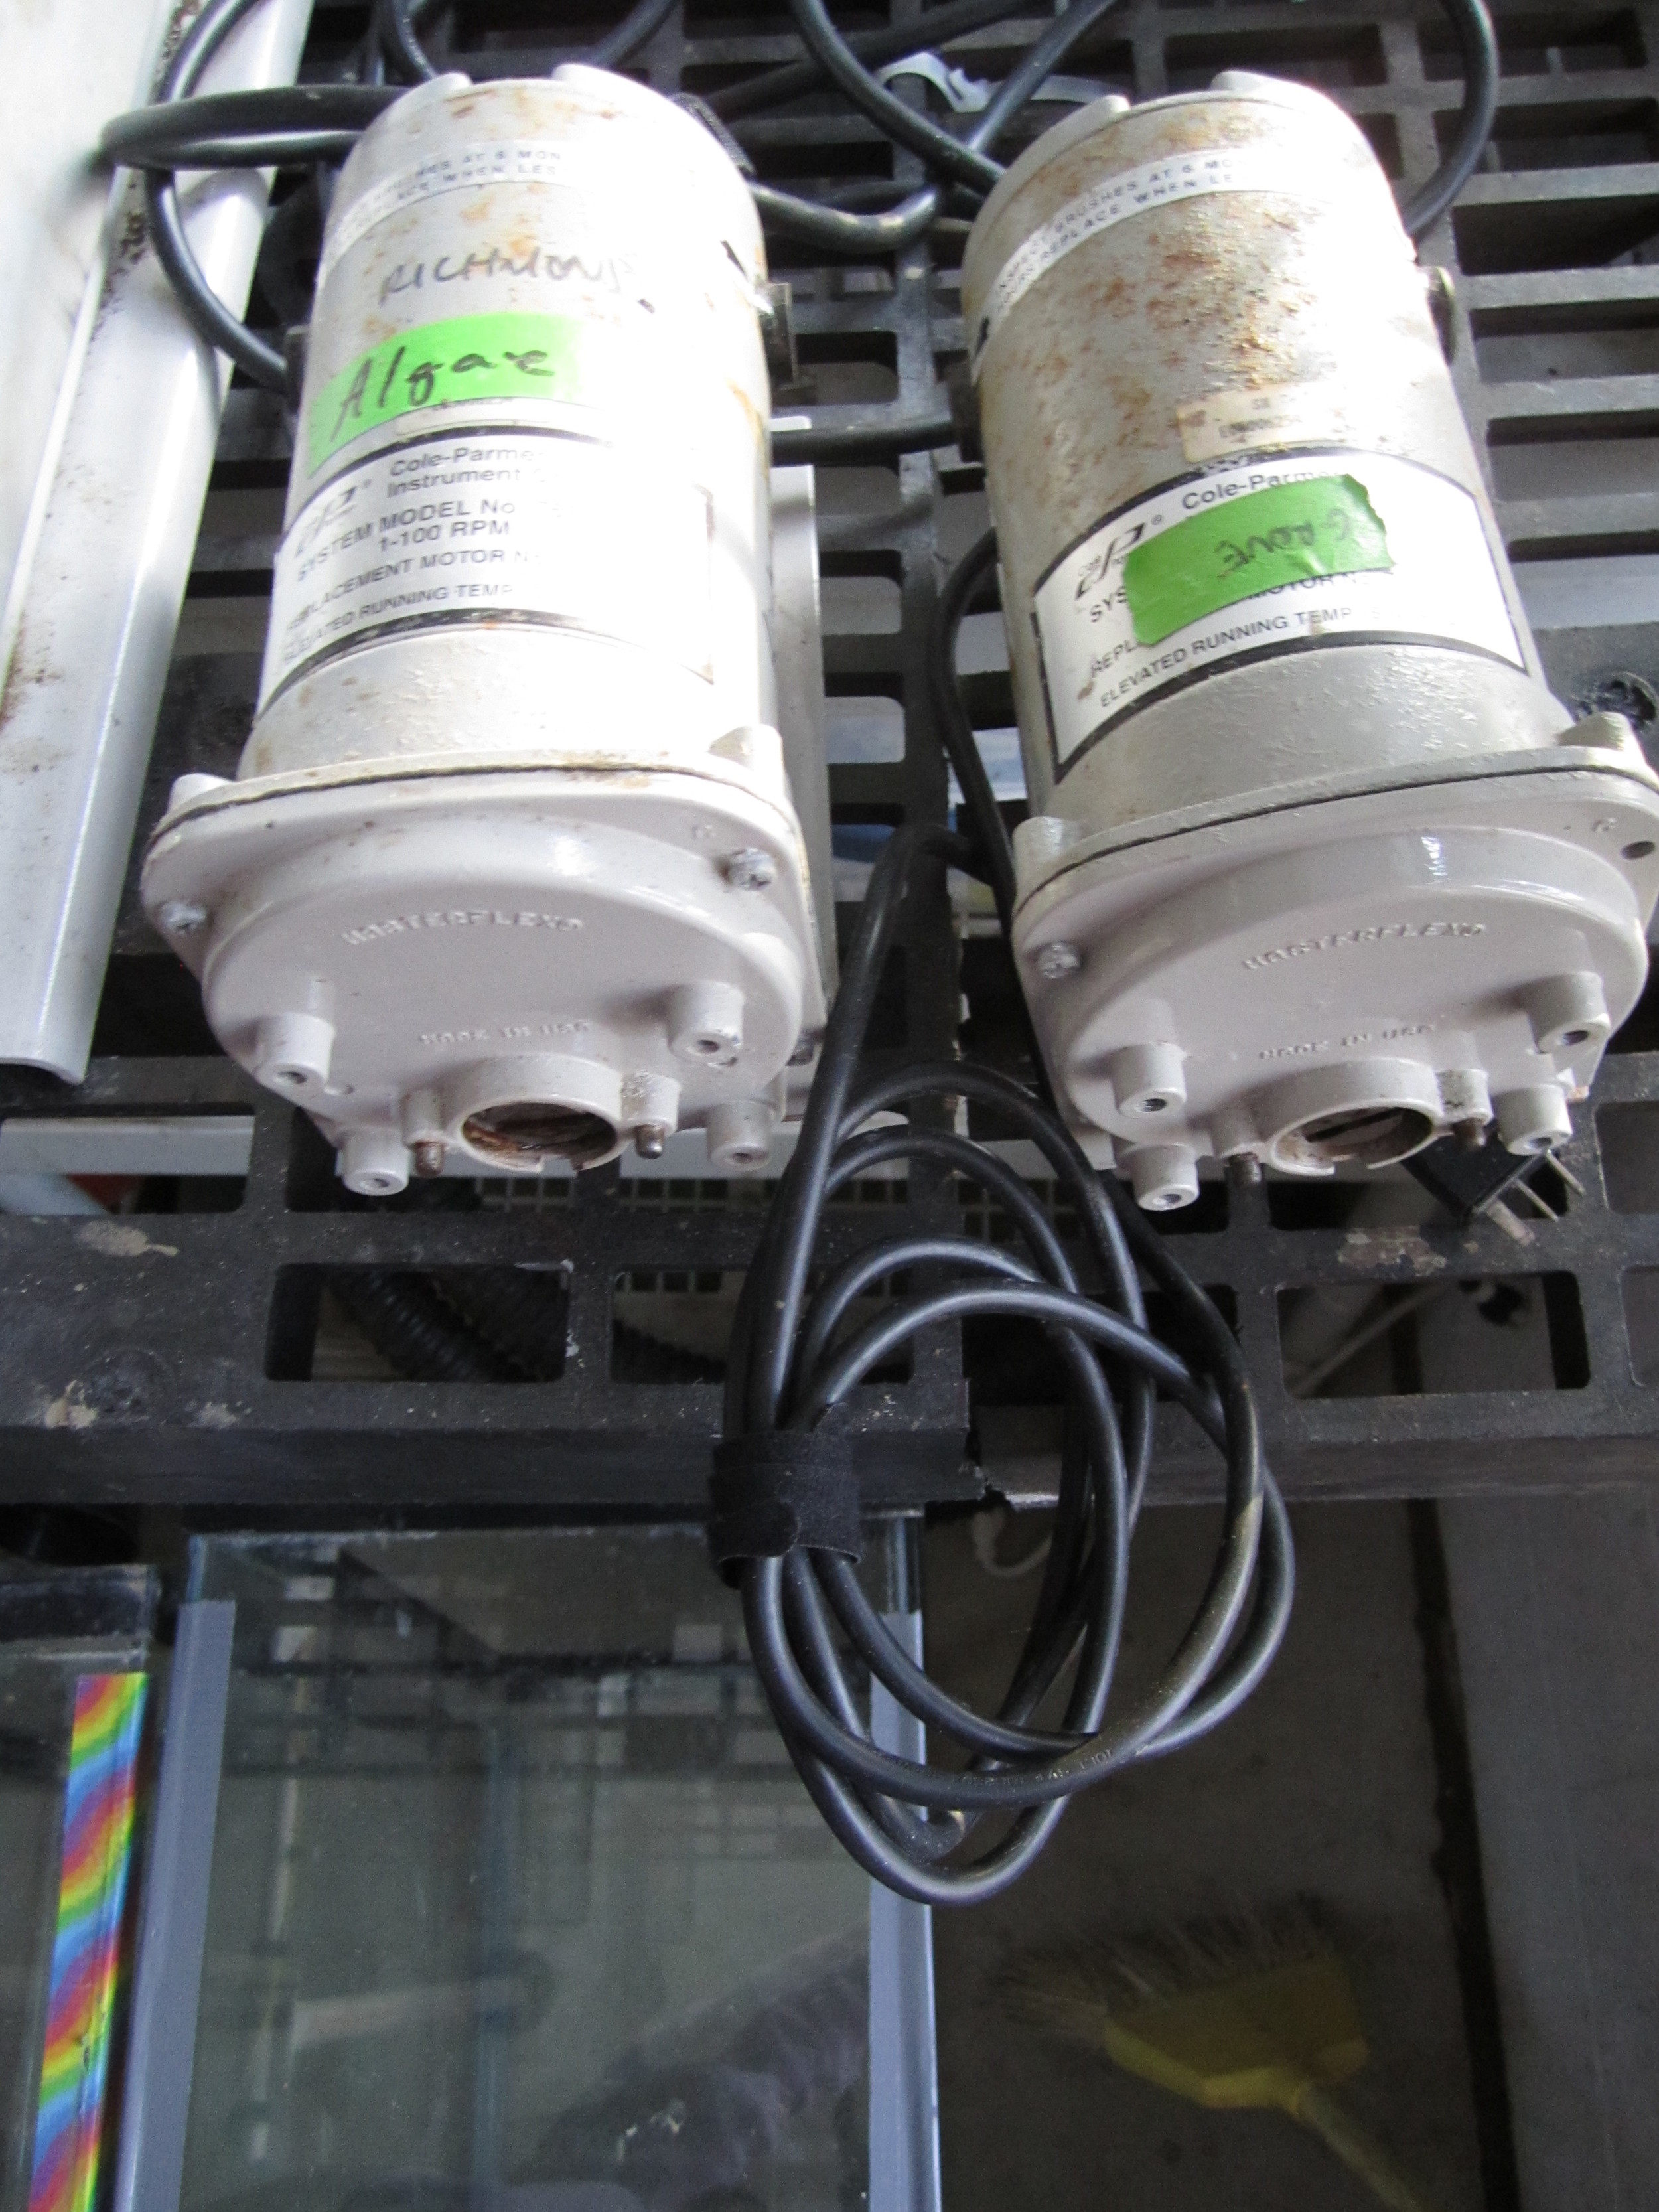
Life Hack #6: Color Cable Ties (Zip Ties)
We all know how useful cable ties are and how they are one of the holy trinity (in the name of the duct tape, the cable ties, and the Sharpies-Amen) of field gear! Colored cable ties take cable ties to the next level! If you need to keep track of treatment type for field experiments (cages, trays, oysters) or keep track of water or air line treatment types...these little buggers are where it's at! Yeah, you could use colored lab tape or electrical tape, but if you've ever done this before you know that tape won't work in wet or humid conditions. Do yourself a favor and take a pro tip from me...use colored cable ties. You'll be glad you did. #Didyouknow that cable ties come in different tensile strengths and some are more UV protective (i.e. black) than others?
Life Hack #5: Dry Erase Boards
Whether it's to keep your project on track, diagram your flow through experiment system, plan out your day-to-day field sampling program, or list lab items in need of purchase...these babies are indispensable!

Pro tip: need to view while in the field because today's field work didn't go as planned which affects tomorrows work? Before leaving the lab, simply take a pic of it with your smartphone and you have all that information quickly accessible!
Pro tip: need to view while in the field because today's field work didn't go as planned which affects tomorrows work? Before leaving the lab, simply take a pic of it with your smartphone and you have all that information quickly accessible!
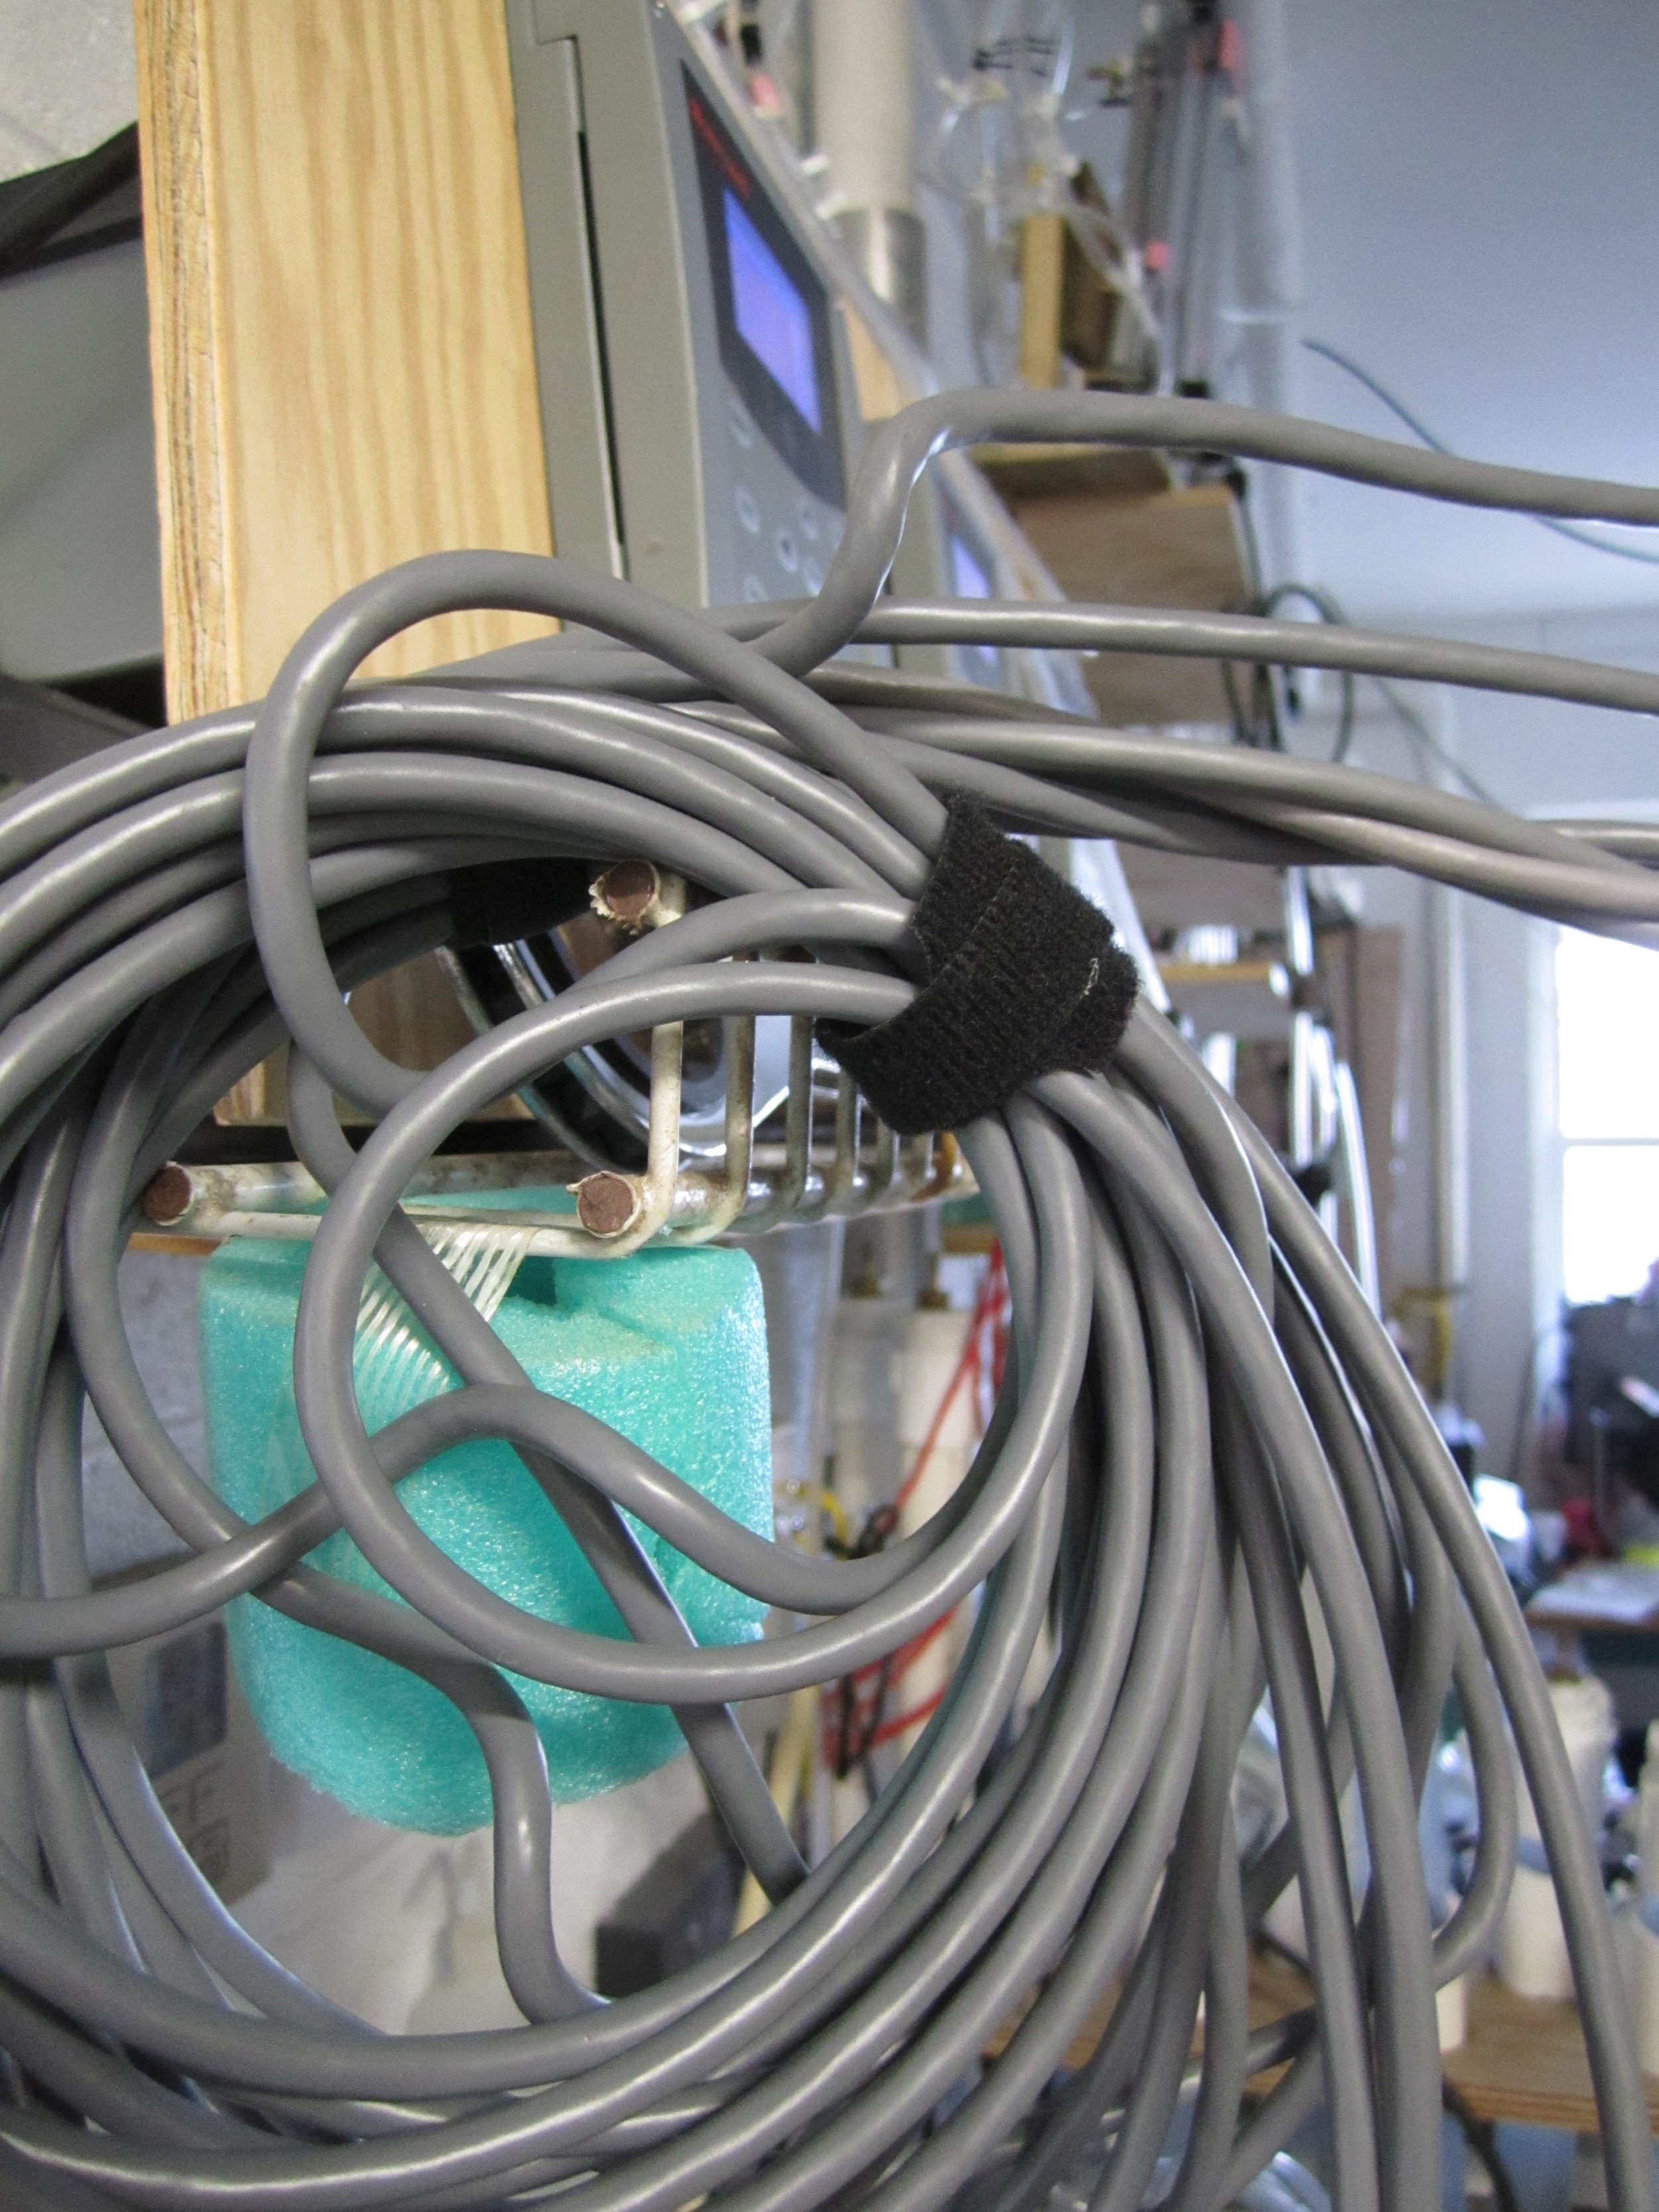
Life Hack #4: Velcro Ties
These things have a myriad of uses! Need sampling gear electronic cables bundled together? Need water lines bundled together? Need anything bundled together? USE THESE!!! They also come in a range of colors should you need to color code things.

Life Hack #3: Double Labeling Samples
Sometimes despite all your preparedness, the world will try to smite thee. You've printed out your sample labels on waterproof labels (see Life Hack #2 for these) and you've adhered them to your sample jars before they have gone in the field, gotten wet or dirty. You've collected your samples and have come back from the field to store them in the sample storage room/facility until you have a chance to ID your samples. Come fall or winter, you go to retrieve your samples for IDing and you find that all your labels are moldy or that some of the labels have information (e.g. site name, date, sample number, etc.) that has worn off or something easily as tragic! But you don't fear, you simply smile! Why...because you always double label! You have a small weatherproof paper label using Rite in the Rain paper (see Life Hack #3) on the inside of your sample container that has all the same information that was on the outside label! You win!
Life Hack #2: Waterproof Labels
Need waterproof labels that you can print out for sample bags, vials, etc. Then you should invest in these! Please note: these may not work in your -80 freezer. I have had labels come off!

Life Hack #1: Rite in the Rain
If you're working in the field and there is a remote chance you might get wet, you should print your datasheets on these! While they won't let you write well in a torrential downpour, they're still worth the investment. If they do get wet, they can be easily air-dried back at the lab. Additionally, they will float for a short while if you should find that your datasheet has flown off your clipboard while boating to your next sampling station. But, that would never happen because you always secure your data in your clipboard and properly stowed the clipboard away when you transit between sampling sites. Right?!
